When doing web programming, the LAMP stack is taken as the default. However, when developing on a Windows machine, you replace the L in LAMP with W and you have WAMP.
WampServer is a bundle for web development for windows. It allows you run your own web server on your local machine. This is great because you can test all your web applications on your website and then upload it to your production environment.
In order to install WampServer on your machine, you need to do the following:
- Visit the WampServer website and click on the Start Using WAMPSERVER button.
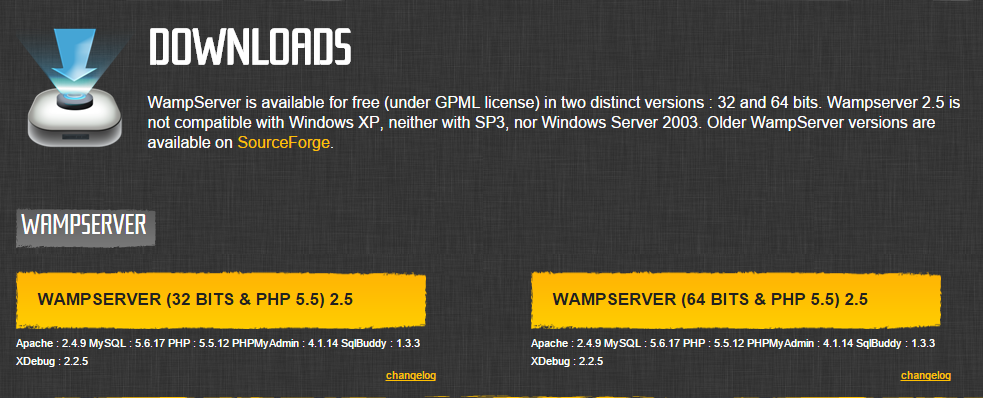
- It will redirect you to this page
- Click the download button for your machine. I am using a 64 bit machine so I will choose that one.
- You get the warning below. Read and look for the download directly link.
- Clicking on the download link starts your download in your browser window.
- Wait for your download to complete. Double click on the file in your browser window.
- You get a User Control Notification. Agree to all of them.
- The installation starts. Click the next button.
- Accept the licence agreement and click next.
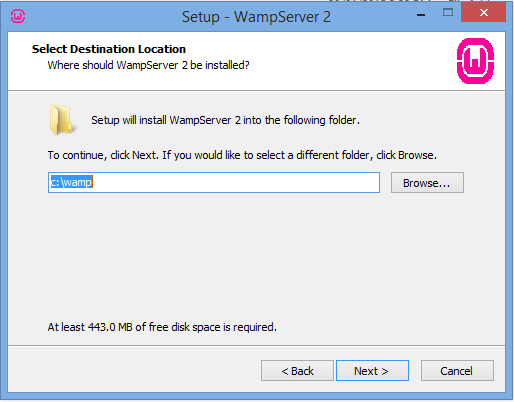
- Select the installation destination. I am using the default.
- Select additional tasks to be performed. I will choose none because I want to have my WampServer on my start page. Click the Next button.
- Your installation is ready to begin. Click on the Install button.
- Wait as your installation is progressing.
- Once the installation is done, it will ask you to choose your default browser. It like Opera for web development so I will look for it.
- Once you do that, your installation concludes. All that is left is to choose your email settings. I will not do that now as we have to configure WAMP to send emails.
- Congratulations, you have successfully installed WAMP on your machine.
- Launch WampServer on your machine by leaving the check box and clicking finish.
- Launching WampServer brings up the User Control. Agree to everything.
- Go to the notification area of your machine and find the WampServer icon. Left click and put your server online.
- Type localhost into your browser window. You will see the screen shown below:
So there you have it. You can now develop web applications on your machine. Next I will explain how to configure your WampServer to send emails.


I enjoyed reading this blog. in my opinion, everything was perfectly written there as well as few small tips are also can be taken as healthy suggestion. Descriptive informative content written in this blog is very useful.HPE Ultrium Universal Cleaning Cartridge
ReplyDeleteFor web-developers who need to install wamp server, this article should be read. It answered all my questions in an easy language, without much jargons. Thanks for sharing.
ReplyDeleteBest Regards,
Crish Watson
Pass Microsoft Certification Without Exam